Using AI to enhance 3d people
2nd of April 2024 — Martin Janousek
The recent rise of AI brought variety of interesting tools. Let's explore one of the techniques we use to enhance CGI people in our renders.
People problem
I guess every visualization artist know this hurdle - how to properly place (sometimes lot of) people in your image. The traditional way is putting them into images in postproduction and then retouching levels, drawing shadows, highlights, etc. because you found the person suitable for your angle but with totally different lighting than in your scene.
An alternative way is using 3d people - but be honest: these were often very plastic-looking models lacking details and ugly, especially in the foreground of the image. Also, it requires to have a large library of humans fitting in various scenarios so you don't recycle just five of them. Companies doing scans got better over time but it was still not the best. But new generative AI tools put 3d people back in the game. In this article, I will show you how I do it.
What is an AI image generator?
It is an AI-powered tool that takes a text prompt, processes it, and creates an image that best matches the description given in the text prompt (text-to-image generator). There is also an image-to-image generation which works the same but instead of text/prompt it uses an image to generate another image. All these generators are trained on large dataset of images and work using diffusion, basically generation noise.
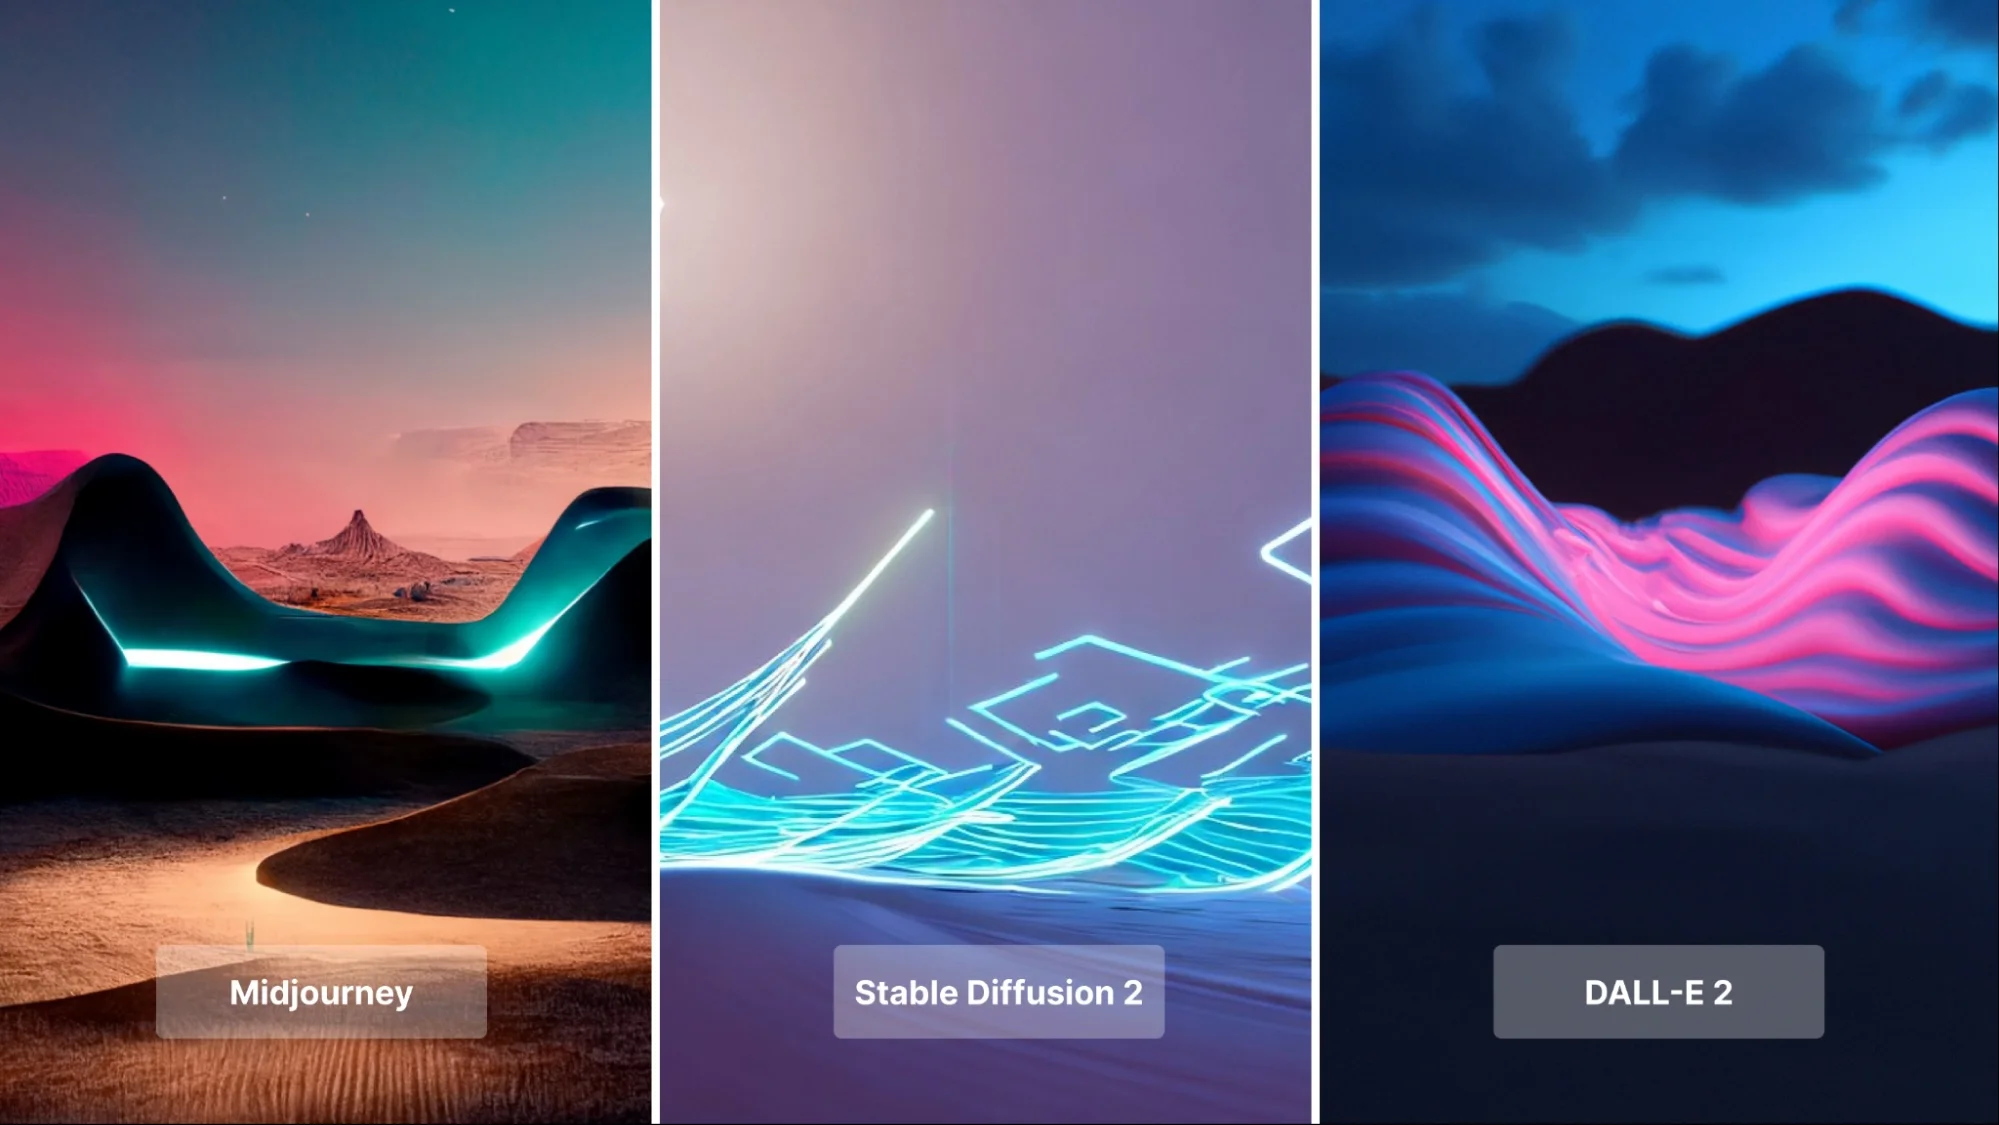
There are closed source (Midjourney, DALL·E, integrated Photoshop AI fill etc.) and open source tools (Stable Diffusion). I will be talking about Stable Diffusion.


Installation
I don't want to get into much details as there is plenty of information how to install these tools. You need these:
- Stable Diffusion (with web interface)
- Auto-Photoshop-StableDiffusion-Plugin
- SD models - I personally use this in this example
- LORAs - in this example I use this and this
If you've successfully installed all requirements, open your rendered file in Photoshop. Then open Auto-Photoshop-SD extension (you can do it also in webui interface but I prefer to work directly in my image editor).
Make rectangular selection of your CGI person.
Choose model (i use Cyberrealistic 3.3).
Switch to Img2img tab.
In the prompt field describe object you want to generate, including LORAs.
So in this case the prompt is:
woman <lora:add_detail:1> <lora:more_details:1>
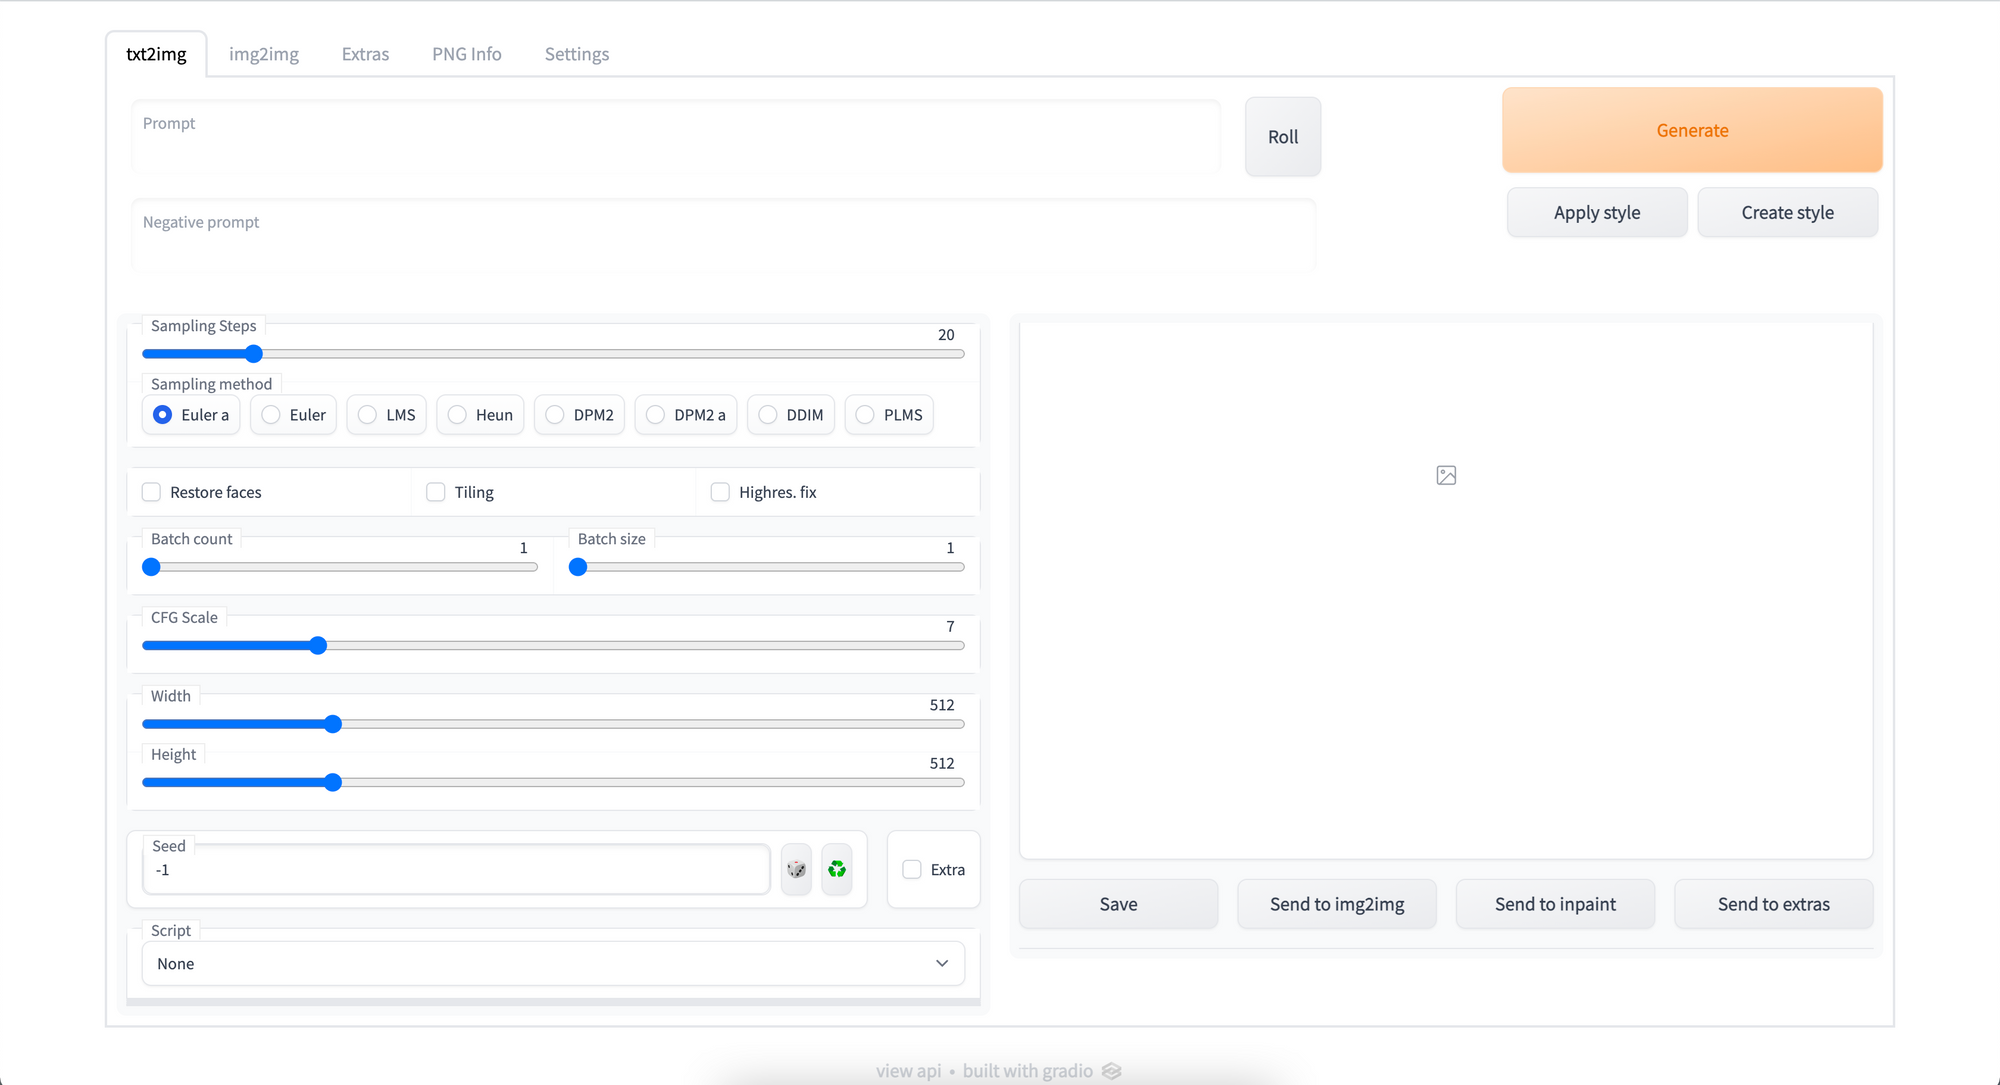
From Samplers below, choose one you prefer (I use DPM++ 2S a, sometimes Euler a).
Adjust Denoising strength accordingly.
Denoising strength 0 won't change anything, strength 1 will change it totally. You want to keep your base person more or less the same, just add details. My values are typically somewhere between 0.2-0.35 to get the result I'm satisfied with. Other settings can stay the same.
Click Generate Img2img.
Useful tips
During my experimenting I've found some things that worked for me:
When you have large portion of image or bigger group of people it's better to generate them in smaller parts and then mask them together.
People that are too far away in the image (and thus too far) usually don't have good results which is caused by the datasets of images that these AI models are trained. So I usually keep these the way they are.
When you generate older people it tends to make them much older than you want them to be. Also kids/teenagers are much younger. In such cases I use prompts like "50 year old man" etc.


